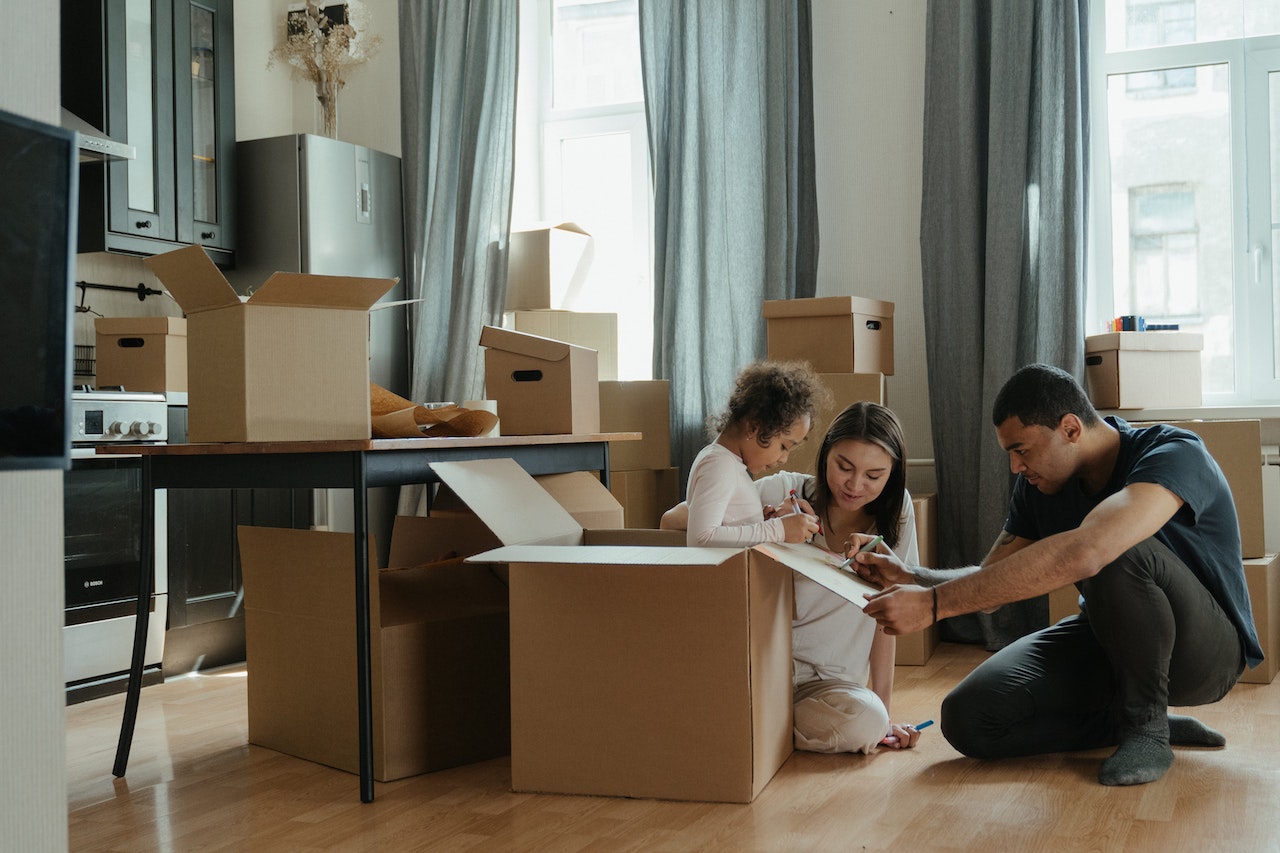
Purchasing a home is an exciting journey. But, before getting the keys to the new property, buyers need to go through a final walkthrough checklist and ensure that all elements of the property are in good condition.
A final walkthrough is an essential part of every home purchase. All properties are different. So, you need to create a new home walk-through checklist every time you think about buying a property.
If you don’t have experience with final walkthroughs, then this article is for you. Below, we’ll define final walkthroughs and discuss which individuals attend these necessary appointments. We’ll also share 8 different elements that should be in your final walkthrough checklist and answer common questions in our FAQ section.
What is a Final Walkthrough?
A final walkthrough is an inspection that a home buyer performs before the deal is officially closed. In short, a walkthrough allows you to visit a property room by room and test out all its different elements to ensure they’re in good working condition. Additionally, you can also verify that the seller has made the repairs they promised in the beginning.
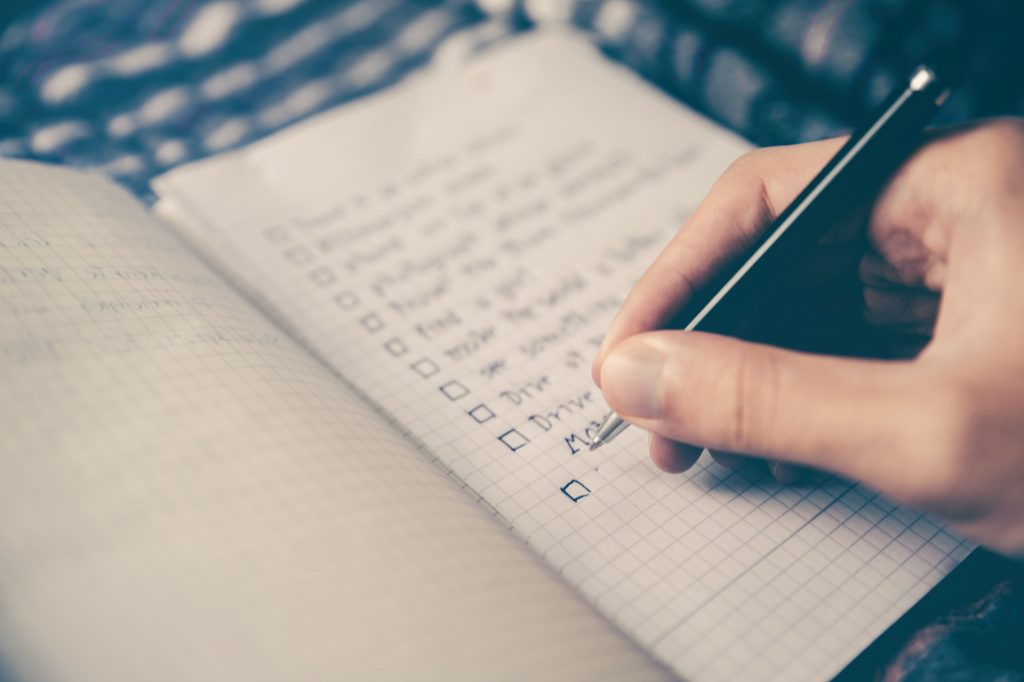
Every real estate walkthrough checklist is different because all homes have a unique combination of wear, features, and additional enhancements. By creating a checklist, you can keep track of all relevant variables and mark the areas that have been inspected to track your progress.
Who Attends a Final Walkthrough?
Before discussing what to look for in a final walkthrough, it’s important to understand who are the people to attend these inspections.
In addition to the buyer, the only other individual who is usually present during a walkthrough is the real estate agent. They are the one to ensure that you verify all relevant elements. Furthermore, if there’s an issue, your agents can assist you right away and ensure that the problem is addressed then and there.
It’s essential to have your closing walkthrough checklist ready before the final inspection. With that said, if the seller still has items in the home, their agent will likely attend. In these cases, you need to organize with the seller’s agent to ensure that you are all available on the same day.
Final Walkthrough: What Should Be In Your Checklist
Now that we’ve covered the definition and the participants of the walkthrough, it’s time to go over the specifics of the property’s final walkthrough checklist.

As we mentioned, every home is different. For this reason, we’ve created eight distinct categories that you should go through before performing the walkthrough.
These are:
1. Inspection Repairs and Improvements
Repairs or improvements that need to be worked on before a home deal is closed, usually fall under the seller’s responsibility. Also, instead of taking your seller’s word at face value, you should check the agreement and review all the improvements the seller had agreed to.
2. Furniture and Belongings Removal
Next, you should ensure that all the required furniture and other belongings are removed. You should also ensure that the seller leaves large appliances if this is part of the deal.
Keep in mind that some sellers may request additional time to remove certain belongings, especially if the property has an outdoor or storage area. However, you should still verify that the belongings are exactly what the seller said.
3. Security Features
Locks, windows, and other security features can help reduce the chances of a break-in. As part of your checklist, ask yourself:
- Do the locks on your doors and window work properly?
- Can windows be opened from the outline easily?
- Are there defects around window screens and similar areas?
4. Large Appliances
Most homes come with large appliances like heaters and kitchenware. Here are some basic tests you’ll want to run during the inspection:
- Heat up the oven and ensure that there’s no leakage or smell.
- Turn on washing and drying machines and run a cycle on each.
- Verify that there is no smell while running the cold water.
- Test both the heating and air conditioning unit
5. Mold and Water Damages
Water damage is one of the worst things that can happen to a property. Also, this produces many tell-tell signs. In order to ensure that there is no water damage, you should:
- Check toilet, shower, and bathtub bases
- Check for mold inside your sink cabinets
- Check the bottom of your fridge, washing machine, and dishwasher
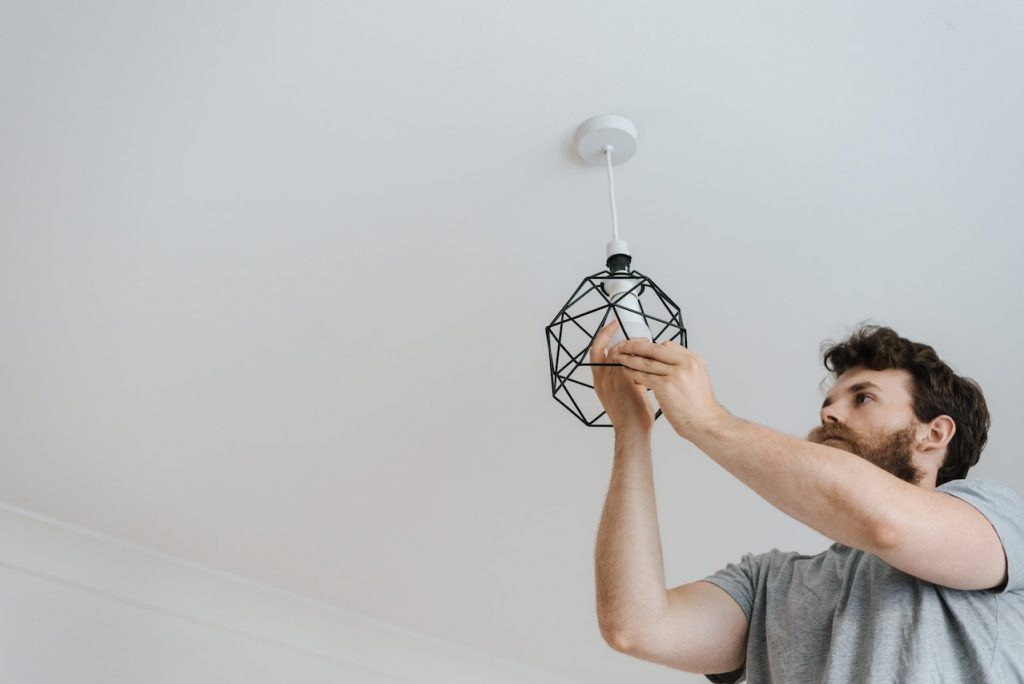
6. Outlets and the Electric System
Electrical systems depend on a grid, so it can produce severe effects if even a small part of the network is compromised. Therefore, you need to ensure that all outlets are working, check the plate covers on electrical switches, and test out the lights as well as the doorbell.
7. Outdoor Areas
Make sure to inspect the exterior of your property as well as the interior. Check out gate latches and electric gates to make sure the mechanism is working properly. Also, check for the irrigation system, faucets, and all other outdoor elements.
8. Pests
Rodents, ants, and cockroaches are just a few of the pests that can infest a home. You need to ensure that there are no signs of pests by looking for droppings, bite marks on the wood, and other signs of pests in the interior and exterior of your soon-to-be home.
What to Do If You Find Issues During the Final Walkthrough
Creating a house walkthrough checklist is a personal process that only buyers and their agents can participate in. As long as you take the time to understand the different elements you need to evaluate and work with an experienced agent, you should be able to create a checklist that includes all of the essentials.
To find out more about finding the best houses in the most popular cities in Canada, Justo is here to help.
Frequently Asked Questions
Can buyers back out after the final walkthrough?
The final walkthrough inspection checklist should be completed two to three days before closing. So, buyers can back out if they want to. The most common reasons for this include an inspection that revealed too many issues and declined mortgage applications.
Should the house be empty for the final walkthrough?
Unless there is a prior agreement, sellers should remove all their belongings before the final walkthrough. Note that this doesn’t usually include big appliances like the HVAC system. That said, buyers who are bringing or purchasing their own devices may request the removal of the old ones.
How long after the final walkthrough closes?
Closing a real estate deal occurs one to three days after the final walkthrough. Hence, your pre-closing walkthrough checklist needs to be as comprehensive as possible.
How long does a final walkthrough take?
The length of the walkthrough varies depending on the property size, number of features, and the gravity of issues found. Therefore, it can take anywhere from 30 minutes to several hours.
- The Impact of Interest Rate Cuts on Toronto’s Housing Affordability - April 23, 2025
- Bank of Canada Holds Interest Rate Steady Amid Tariff Uncertainty - April 19, 2025
- The Impact of Interest Rate Cuts on Toronto’s Housing Affordability - April 11, 2025